Mastering the Art of Patching Grass Like a Pro
Published: 22/08/2024 | Updated: 22/08/2024
Key Highlights
- Identify the cause of dead patches before starting any repair work.
- Prepare the soil properly by removing dead grass, loosening the soil, and adding organic matter.
- Choose the right grass seed for your area and existing lawn.
- Water consistently to keep the soil moist until the new grass is established.
- Regular lawn maintenance like aeration and overseeding will help prevent future patches.
Introduction
Taking care of your lawn is a fulfilling task. However, sometimes, bare patches can show up, even when you try your best. These patches can come from different reasons and make your lawn less pretty. Don't worry! With some work and knowledge, you can learn how to patch grass. This will help change those ugly spots into healthy areas with new grass seed.


Understanding the Basics of Grass Patching
Before we talk about the details, let's go over the basics. Grass patching is also called reseeding or spot-seeding. This process helps fill in damaged or bare areas in your lawn with fresh grass seed. Damage can happen due to pet urine, heavy foot traffic, disease, or other reasons. You can fix these patches with the right techniques. It is important to understand why these patches happen to choose the best way to repair them.
Doing grass patching well means preparing the soil properly, picking the right seed, and taking care of it often. By focusing on these key parts, you can bring your lawn back to health and make it look green and even.

Identifying Common Reasons for Lawn Patches
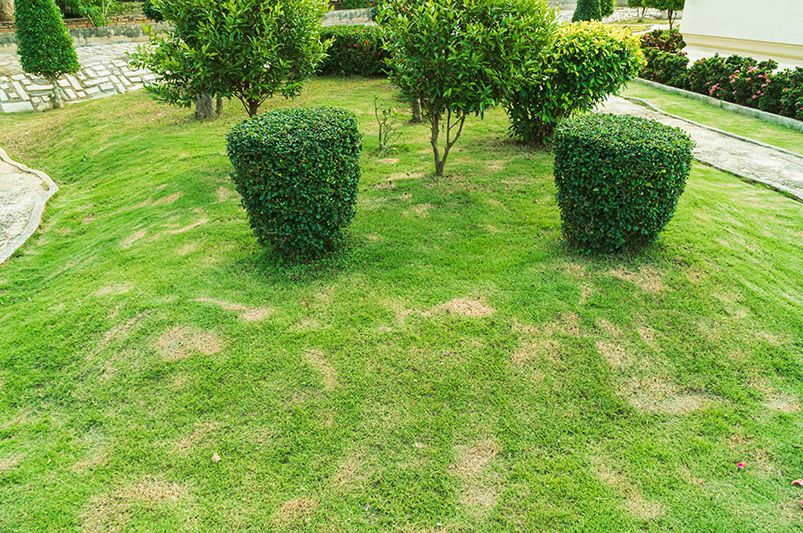
Identifying the cause of those ugly dead grass patches is the first important step for good lawn repair. One cause is pet urine, especially from dogs. It has nitrogen that can cause brown spots. Heavy foot traffic is another reason. It presses the soil down, making it hard for grass roots to grow.
Sometimes, lawn patches show deeper problems like diseases or insect attacks. These issues can appear as odd shapes of dead grass or pale spots. Finally, environmental stresses like drought, really hot weather, or bad drainage can also lead to bare areas.
Tools and Materials Needed for Effective Patching
Having the right tools and materials will help you succeed in fixing your grass patch. Here’s a list of what you need:
- Garden rake: This tool helps remove dead grass, loosen soil, and spread topsoil.
- Topsoil: It offers a nutrient-rich layer for new grass seed to grow.
- Grass seed: Pick a type that works well with your current lawn and local weather.
- Starter fertilizer: This promotes strong roots for new grass.
- Mulch (optional): It keeps moisture in and protects seeds from birds.
You can find these items at your local garden center or home improvement store.
Step-by-Step Guide to Patching Your Lawn
Now that you know the basics and have the tools you need, let’s go through the grass patching process step by step. If you follow these steps carefully, you will create a lovely and healthy lawn.
Get ready to turn those bare spots into green areas that will impress your neighbors!
Step 1: Clearing the Patch Area
The first step is to clear the area of any dead grass, weeds, or debris. Use a garden rake to remove all the dead turf and loosen the top layer of soil in the bare spot. This step is important. It gives a clean and well-aerated base for the new grass seed.
If the area is hard because of heavy foot traffic, you may want to aerate it. You can use a garden fork or a core aerator for this. This helps with soil drainage and makes it easier for roots to grow. As you rake, take out any rocks or big clumps of dirt. This way, you will have a smoother surface for the next step.
Step 2: Preparing the Soil for New Seed
Once you clear the patch area, you should get the soil ready for the new seed. Soil compaction can be a common problem in lawns. So, loosening the soil is important. You can do this by going about 3-4 inches deep with a garden rake or a spade fork. This step helps the roots grow well.
After you loosen the soil, add a layer of topsoil or compost. This will provide necessary nutrients and help with drainage. Use your garden rake to mix the amendment into the top layers of soil. Having healthy soil is very important for growing grass successfully.
Step 3: Choosing the Right Grass Seeds
Choosing the right grass seed for your area and lawn is very important for good patching results. You should think about how much sunlight your lawn gets, your local weather, and what type of grass is already growing.
If you do not know which type of grass seed to pick, ask for help at your local garden center or a trusted online seed supplier. They can help you find the best choices for your needs.
Also, using a special seed mix for patching or fixing lawns can help you get better outcomes. These mixes are made to grow quickly and develop strong roots.
Step 4: Sowing Seeds and Applying Starter Fertilizer
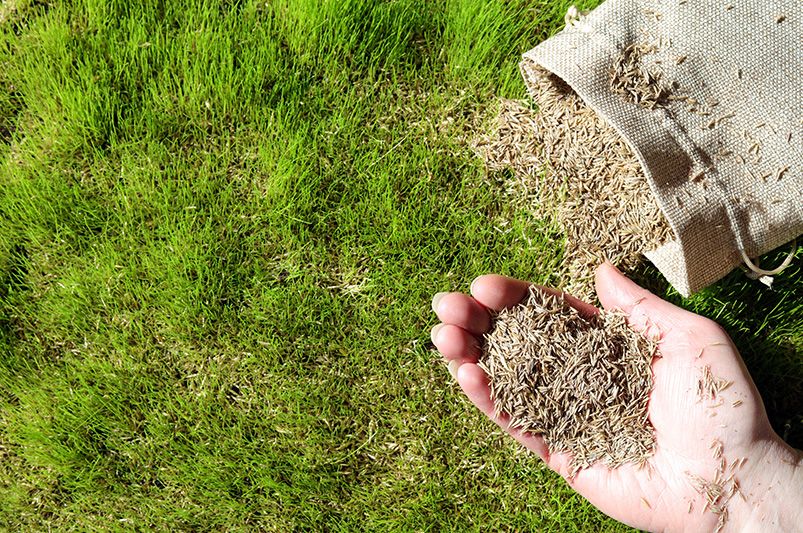
With the soil ready and the right grass seed chosen, it's time to plant! Spread the grass seed evenly over the prepared area. Make sure to follow the amount suggested on the package. Don't plant too much seed, as this can overcrowd the area and create competition between the small plants.
After you spread the seed, lightly rake the soil. This helps the seed make good contact with the soil. Then, add a starter fertilizer meant for new grass. These fertilizers have important nutrients that help roots grow strong during the vital early stage.
Step 5: Watering and Mulching for Optimal Growth
Watering is very important, especially in the first weeks after you sow the grass seed. You should water the seeded area gently and deeply. This will help the roots to grow well. Try to keep the soil moist but not too wet. Too much water can suffocate the seeds and stop them from growing.
You can put a thin layer of mulch, like straw or hay, on the seeded area. This helps keep moisture, control soil temperature, and protect the young seedlings from birds or erosion. Just be careful not to make the layer too thick. If it is too thick, sunlight may not reach the new grass.

Advanced Techniques for Lawn Repair
For big lawn areas that need fixing, or if you want a quick solution, using some better methods can help a lot. These techniques can speed up how you get a green lawn.
Think about these choices for bigger lawn repair or faster results.
Using Sod for Quick Patches
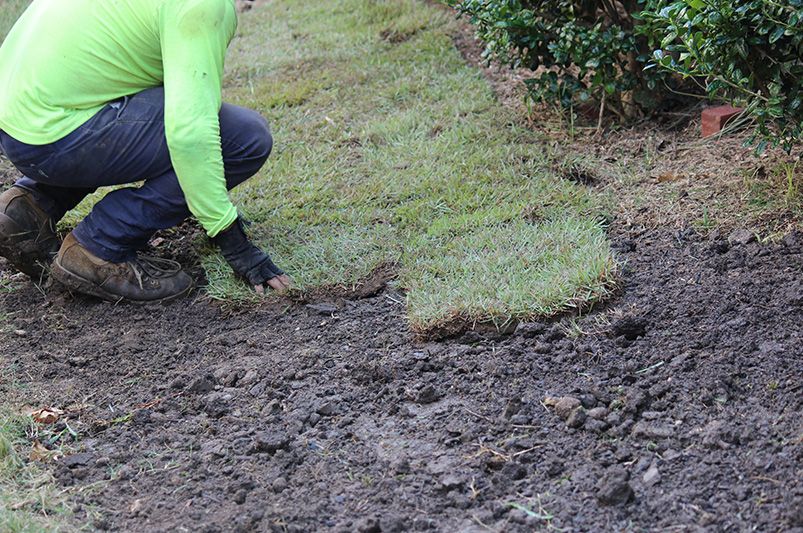
If you want to quickly fix big areas of grass or want a fast lawn, laying sod is a great choice. Sod is made of ready-grown grass squares taken from a farm. It covers your yard immediately, making it look different in just one day.
To put down sod, first, prepare the soil like you would for seeds. Then, place the sod pieces close together, making sure there are no gaps between them. After you lay the new sod, water it well right away to help the roots grow.
Aeration and Overseeding for Healthy Lawns
Aeration and overseeding are great ways to keep your lawn healthy and looking good. Aeration makes small holes in the soil. This helps reduce compaction and allows air, water, and nutrients to reach the roots better.
Overseeding means spreading grass seed across the lawn. This helps thicken the grass and fills in any thin or bare areas. It’s best to do these steps in cool seasons, like early spring or fall. The weather is better for grass seed to grow at this time.

Maintenance Tips to Prevent Future Patches
Prevention is better than fixing problems later! By using some simple lawn care practices, you can greatly lower the chance of bare patches in your lawn.
A little care can really help keep your lawn lush and healthy all year round.
Regular Mowing and Watering Best Practices
Mowing your lawn at the right height and the right time is very important for its health. If you cut your grass too short, it can weaken the plants. This makes them easier to get sick and makes them struggle during dry times. Try to cut off no more than one-third of the grass blades each time you mow.
Watering deeply but less often helps the roots grow deep. This way, your lawn can resist drought and disease better. Watering deeply a few times a week is usually better than watering frequently and just a little. Moreover, change your watering plan if the weather changes. Water less when it’s rainy or when the humidity is higher.
Seasonal Lawn Care Tips
Just like any other plant, your lawn's needs vary with the changing seasons. Incorporating seasonal lawn care practices can go a long way in preventing future patches and ensuring a thriving lawn year-round.
Seasonal Lawn Care
|
Season |
Task |
|
Early spring |
Fertilize, apply pre-emergent herbicides, rake out dead grass. |
|
Summer |
Water deeply and infrequently, mow high. |
|
Fall |
Aerate and overseed, fertilize, remove leaves and debris. |
|
Winter |
Apply a winterizer fertilizer (if needed), avoid heavy traffic on dormant grass. |
By adjusting your lawn care routine based on the season, you can provide the necessary nutrients and care your lawn needs to thrive year after year.
Conclusion
Patching grass well takes care and the right methods. First, you need to know why there are patches in your lawn. Then, follow a simple guide to fix it and make your lawn healthy. Choosing the right grass seeds and keeping it watered are both important steps. You can also use quick fixes like sod or try aeration to help your whole lawn. Regular care is crucial to stop patches from coming back. Use these tips, and your lawn will look great. Don't forget to share what you learn on social media to help others create a healthy lawn at home.
Frequently Asked Questions
Can I patch my lawn using only topsoil?
Topsoil is good for improving the planting area when you're creating a new lawn. However, it is not the best way to fill bare patches. You need grass seed to fill these areas, and the existing grass might not spread enough on its own. For the best results, it is better to use both topsoil and grass seed.
Need Assistance for a Complete Landscape Makeover?
Shrubhub’s landscape design packages can significantly transform the lives of homeowners by delivering customized, professional landscaping plans tailored to their unique space and personal style. With the ease of online collaboration, you are guided step-by-step through a design process that fundamentally reshapes your outdoor environment. The result is an aesthetically pleasing and functional outdoor living area that maximizes the potential of your property.
Sign up now for free and get a whopping 70% discount on your landscape design!


