
Landscape Lighting Made Easy: A Beginner's Guide
Published: 21/09/2024 | Updated: 15/09/2024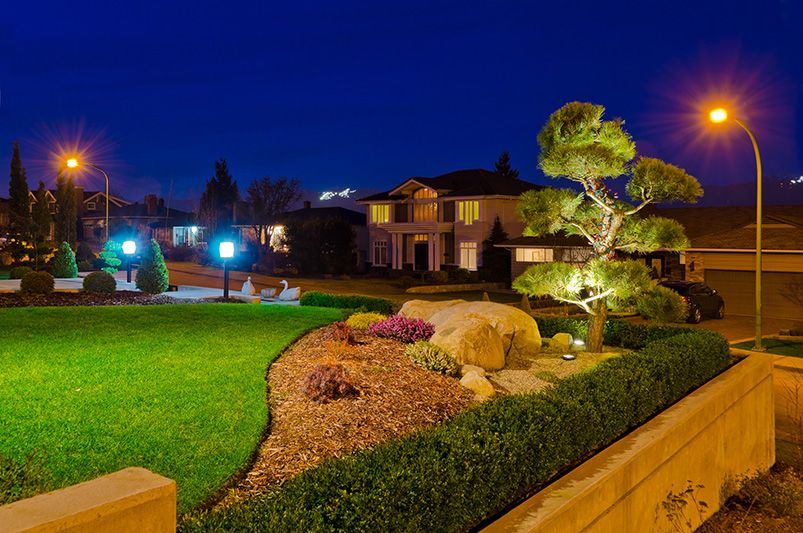
Key Highlights
- Enhance your home's curb appeal and safety with strategically placed outdoor lighting.
- Explore various landscape lighting fixtures like path lights, spotlights, and string lights to create ambiance.
- Learn how to plan your lighting project, from assessing your yard's needs to creating a layout.
- Follow our step-by-step guide for a DIY installation, or consider hiring a professional for complex setups.
- Discover maintenance tips to ensure your landscape lighting remains in top condition for years to come.
Introduction
Outdoor lighting works wonders for your home. It brings your home’s architecture and landscaping to life at night. It's more than just light. It is an art that shows off your home's beauty. It also boosts curb appeal and makes a warm atmosphere for you and your guests. This simple guide will help you learn the basics of landscape lighting. You will understand the different fixtures and also how to plan, install, and maintain them.


Understanding the Basics of Landscape Lighting
Landscape lighting is more than just lighting up your yard. It helps create a nice atmosphere, focus on key areas, and improve the look of your outdoor spaces. By placing lights carefully, you can add depth, warmth, and drama.
Picking the right fixtures is important to get the effect you want. Path lights can show visitors the way, while spotlights can highlight an impressive tree. Each fixture has a purpose. Think about the style of your home and yard when choosing fixtures that will fit with the overall design.
The Importance of Landscape Lighting in Home Aesthetics
Imagine walking down a softly lit pathway to a patio filled with warm light from perfectly placed fixtures. Outdoor lighting helps you enjoy your outdoor living spaces in the evening. It makes a magical setting for relaxing or having guests over.
Path lights do more than set the mood. They also provide safety for your outdoor areas. They light up walkways and steps, reducing the chance of trips and helping visitors move around safely.
Good outdoor lighting also shows off your home’s architectural style. It highlights cool features, textures, and materials, making your place look beautiful even when the sun goes down.
Different Types of Landscape Lighting Fixtures and Their Uses
Choosing the right light fixtures is important for getting the lighting you want. Here are some common types of landscape lighting fixtures:
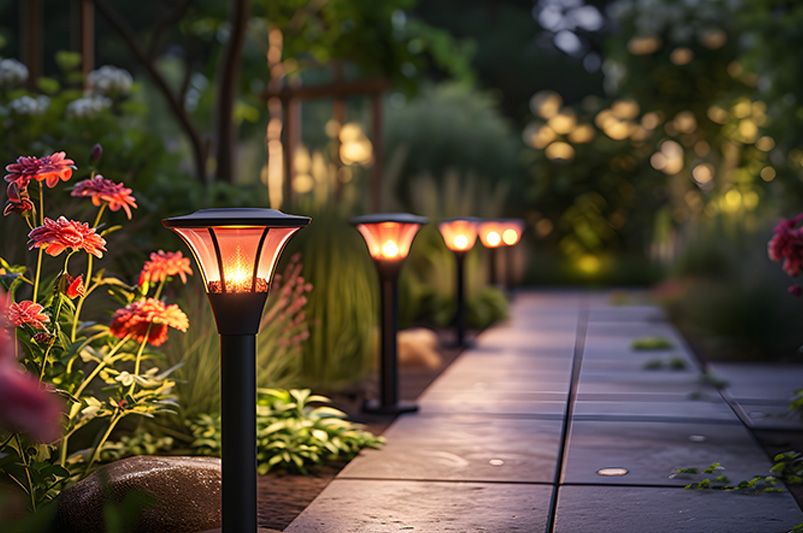
- Path Lights: They help guide people along walkways and make it safer.
- Spotlights: These are great for shining on trees, shrubs, and other key areas.
- Flood Lights: They give bright light for security or to cover large spaces.
- Well Lights: These light up walls, steps, and architectural features from below without being seen.
- String Lights: They create a fun and cozy vibe for patios and outdoor dining areas.
- Solar Lights: They are a green choice. They work well for lighting walkways and gardens without any wiring.
When you know what each fixture does, you can create a layered and interesting lighting design that shows off the beauty of your outdoor space.
Planning Your Landscape Lighting Project
A good landscape lighting project helps you improve your outdoor space in the best way. Before buying any lights, look closely at your yard's lighting needs. Take time to make a clear plan.
Think about which areas you want to light up, what mood you want to create, and how each space will be used. Having a solid plan will guide you during the installation.
Assessing Your Yard's Lighting Needs
Start by finding the areas that need good lighting. This includes places like walkways, steps, and driveways. Then, think about what you want to stand out. This could be a pretty tree, a water feature, or nice details of a building.
Next, decide on the mood you wish to create in each spot. Soft, warm lighting can give a cozy feel. However, brighter, cooler lighting is best for safety. Try out different lighting fixtures to get the look you want.
Picture how the pools of light will work together. Avoid making harsh contrasts or very bright areas that could take away from the overall look. Aim for a balanced and pleasing lighting design that makes your outdoor space look more beautiful.
Creating a Layout for Lighting Placement
After you check what lighting your yard needs, make a simple drawing of your landscape plan. Include features like trees, walkways, and patios. Next, show where you want to place your lighting fixtures.
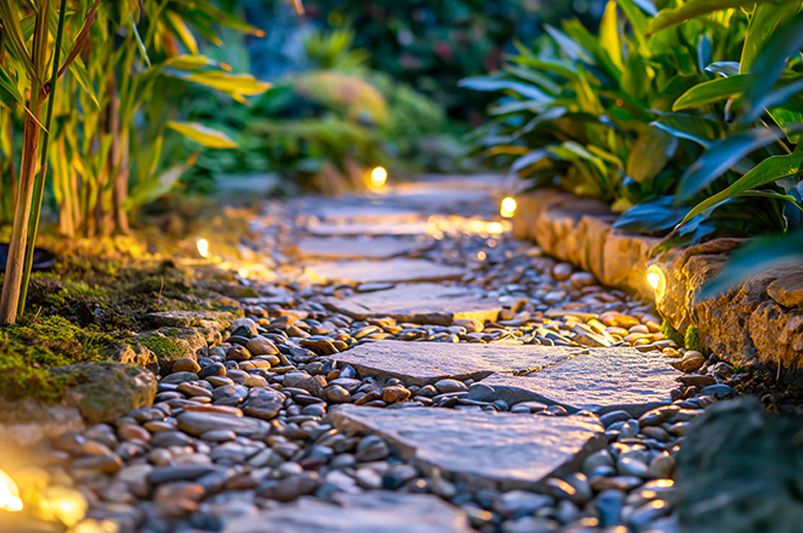
Think about how tall the trees are and how wide they grow when you set up garden lights. This way, light can shine through the branches and create nice patterns on the ground. Also, uplighting from below can highlight architectural elements of your home, adding interest and depth.
Keep in mind how your plants will grow. Make sure your lighting design will still look good as your garden grows. Check and adjust your lighting setup regularly to keep it working well for many years.
Getting Started with Landscape Lighting
Now that you have a plan ready, it is time to collect the tools and equipment you will need for your landscape lighting. Depending on how complex your project is, you can either do it yourself or get help from a professional electrician.
If you decide to go the DIY way, make sure you understand the basics of electricity and keep safety as a top priority while working. If you are unsure about anything, do not hesitate to ask a licensed electrician for help.
Essential Tools and Equipment for Installation
The tools and equipment you need for your outdoor lighting system will depend on the type of lighting you want and the size of your project. Here are some key items you will usually need:
- Wire Strippers and Cutters: These are important for handling electrical wiring.
- Voltage Tester: This tool helps you check for live currents, keeping your outdoor lighting system safe.
- Shovel and Hand Trowel: You will use these for burying electrical cables and setting up fixtures.
- Electrical Tape: This tape seals wire connections safely and securely.
- Level and Measuring Tape: These tools help make sure that fixtures are straight and at the right height.
- Safety Glasses and Gloves: These protect your eyes and hands when you install everything.
Before you start installing your outdoor lighting, gather all the tools and materials you need. This way, everything will flow smoothly. For easier setups, like string lights, you may need fewer tools.
Safety Tips Before Beginning Installation
Before you start digging trenches or connecting wires, keep in mind that working with electricity can be risky. Safety should always come first. Here are some important tips to follow:
- Call Before You Dig: Reach out to local utility companies. They can mark any underground lines to keep you safe while digging.
- Turn Off The Power: Make sure to switch off the power at the breaker box before you work on any electrical parts.
- Use Outdoor-Rated Products: Pick fixtures and wiring made for outdoor use. This helps them handle bad weather better.
- Ground All Fixtures: Grounding is very important to stop electrical shocks. Check the instructions from the manufacturer or ask a licensed electrician if you are not sure.
If your lighting plan is complicated, it might be a good idea to hire a licensed electrician. They can help you get a safe and correct installation. This also helps reduce the chances of any electrical problems.
Step-by-Step Guide to Installing Landscape Lighting
Once you have your lighting plan ready, tools set up, and safety measures done, you can start installing your landscape lighting. Remember to follow your layout plan step by step and check your connections again. This guide gives a general overview, but you should always look at the manufacturer’s instructions for each fixture you are installing.
Keep in mind that using low-voltage lighting is usually safer and simpler for DIY projects. If your plan includes high-voltage connections, it's best to talk to a licensed electrician.
Step 1: Mapping Out Your Plan on the Ground
Using your sketch, place your lighting plan onto your landscape. Use stakes or spray paint to mark where each fixture should go. This visual guide will help you be accurate and avoid mistakes when you install.
Pay attention to pathways. Make sure the fixtures are spaced evenly to provide enough light and safety. Think about how far the light should spread and which direction it should go when setting the final spots for the fixtures.
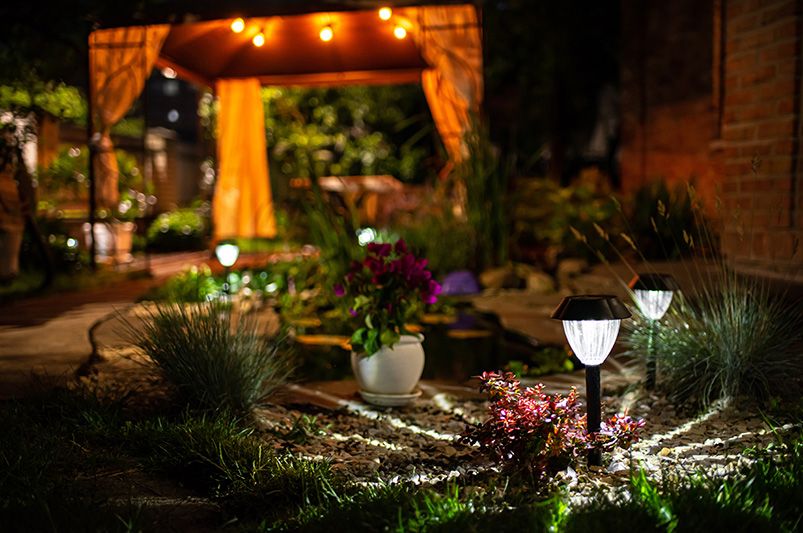
Before making the fixtures permanent, connect them to the transformer. Turn on the power temporarily to test everything. This helps you adjust and improve your design before you bury any wires.
Step 2: Installing the Transformer
The transformer is an important part of the low-voltage lighting system. It changes the higher voltage from your home's electrical system into a safe voltage for outdoor use. Usually, transformers are placed on a stable surface close to an outdoor outlet.
Choose a spot for your transformer that has good airflow, is protected from weather, and is easy to reach for maintenance. Use the hardware that comes with the transformer to securely mount it to the surface you picked.
If you want to add a timer or photocell to your lighting system for automatic control, connect it now using the instructions from the manufacturer. Make sure that all connections are tight and secure to avoid any electrical problems.
Step 3: Laying Out the Electrical Cables
Carefully unwind the electrical cables from the transformer. Follow the marked paths on your layout plan. To make it look neat, hide the wiring beneath mulch, by patio stones, or bury them a few inches underground.
When running wires under walkways or driveways, it is best to use a conduit. This protects the wires from damage from foot traffic or vehicles. Use landscape staples to secure the wires to the ground. Make sure they are flat with the surface to avoid tripping.
Before you connect the wires to fixtures, leave some slack. This will help with any changes or movements of the cables over time.
Step 4: Setting Up Path Lights
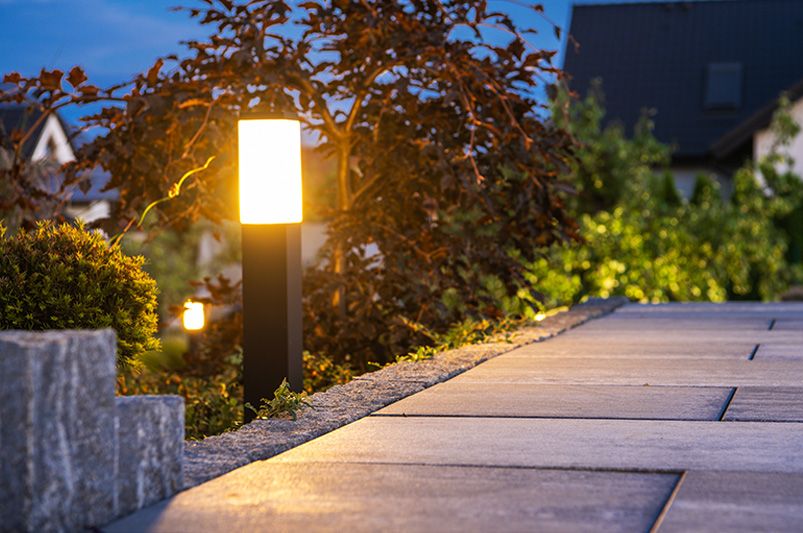
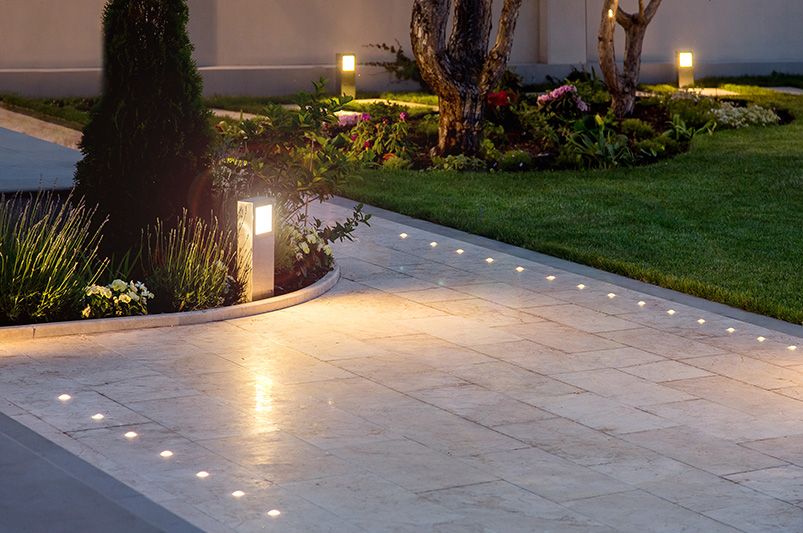
Path lights are important for helping visitors move safely around your outdoor space. When you set up path lights, keep the space and height the same for a neat and finished look. Many path lights come with stakes that make them easy to install along walkways.
Think about the lumens the bulbs create for your path lights. Lower lumens give off a soft and warm glow, while higher lumens provide brighter light, especially in spots where you need more visibility.
Try different bulb brightness levels to find the right feel and function for your outdoor area. The main goal of path lighting is to ensure safe movement and to make your space look nice.
Step 5: Installing Specialty Lights (Spotlights, Underwater Lighting)
Installing special lights like spotlights and underwater lighting can make your outside space nicer. These light fixtures improve the look of your landscape design. They also light up important parts of your home and features with water. For spotlights, aim to create pools of light to highlight certain spots. Underwater lights can give a magical feel to ponds or fountains. It is important to think about safety. Always ask a professional electrician for help with installation. This way, you can have a beautiful and safe outdoor lighting system.
Enhancing Your Landscape Lighting
With your basic landscape lighting system ready, think about adding new features to improve how it works and save energy. Timers and controls help you set your lighting schedule and reduce energy use.
Also, try creative methods like uplighting, downlighting, and shadowing. These can create depth and interest in your outdoor area. These ideas can change your landscape into a stunning show at night.
Adding Timers and Controls for Efficiency
Integrating timers and controls into your landscape lighting system offers many benefits. First, timers help automate when your lights turn on and off. This can save energy and cut down costs on your electricity bill.
Also, timers can make your home safer. They can discourage intruders because your lights mimic your normal schedule, even when you are not home. Another option is using photocells. These devices turn on your lights at dusk and off at dawn based on how much natural light is available.
Smart lighting systems take this even further. They let you control and customize your lights. You can change the brightness and color temperature, or create different lighting scenes right from your smartphone or tablet.
Creative Techniques for Spotlighting and Shadowing
Uplighting is when you place lights at the bottom of trees, shrubs, or buildings. This shines light upwards to make strong shadows and show off textures. Downlighting is the opposite. Here, you put lights above to shine down. This lights up paths or gives a gentle glow.
Shadowing is another method. It uses lights in a way that their shadows fall onto walls or surfaces. This mix of light and shadow makes your outdoor area more interesting and adds depth.
If you try these methods, you can make a beautiful and lively look at night. This will showcase the beauty of your shrubs and other features. The key is to create a balanced effect. You want to enhance your space, not make it too bright.
Maintenance Tips for Landscape Lighting
After you install your landscape lighting system, regular maintenance is important. It helps your system last longer and work better. Routine cleaning and changing bulbs are key parts of keeping it in good shape. Like any electrical system, a little care can prevent problems and help your investment last.
Check your lights often for any damage, rust, or dirt build-up. Remove any leaves, dirt, or spiderwebs that block the light. By doing these simple tasks regularly, you can enjoy many years of bright and beautiful outdoor spaces.
Routine Cleaning and Bulb Replacement
Routine cleaning of your landscape lighting fixtures is important. Wipe away dirt, grime, and debris with a soft, damp cloth. For glass lenses, use a mild glass cleaner and a microfiber cloth. This will help get rid of smudges and water spots. It keeps the light clear.
Changing the bulbs is also a key part of maintenance. The life of your bulbs can change based on their type and how much you use them. When it’s time to replace bulbs, choose LED bulbs. They are known for being energy-efficient, long-lasting, and durable.
Always turn off the power at the breaker before you handle any bulbs or electrical parts. Also, make sure bulbs are completely cool before you change them. This helps avoid burns.
Troubleshooting Common Issues
Even when you take care of your landscape lighting, you might still face some problems. Begin by looking at the most common issues: burnt-out bulbs, tripped breakers, or loose connections. If a fixture is not working, check the bulb first.
If changing the bulb doesn’t fix it, look at your breaker box for any tripped circuits. If you find one, reset the breaker and see if the fixture lights up. If you still have issues, check the wiring and connections for any damage or loose parts.
If you can’t find the problem or feel unsure about fixing electrical issues, it’s best to call a qualified electrician. They have the skills to find and fix electrical problems safely and well.
Conclusion
In conclusion, landscape lighting is very important for making your outdoor space look nice and function well. By learning the basics and planning carefully, you can create a safe and good-looking area for your home. Don't forget to use energy-saving methods, fun ideas, and keep up with regular care to make sure your landscape lighting stays bright. Whether you are new to this or want to improve your current setup, this guide gives you the key information to light up your outdoor space properly. Share pictures of your lovely lit landscape on social media and encourage others to brighten their homes too.
Frequently Asked Questions
How Can I Make My Landscape Lighting More Energy-Efficient?
An outdoor lighting system that saves energy can be set up by using solar lighting. You should use LED bulbs and pick fixtures that use less wattage. It’s also a good idea to use timers or sensors to control when the lights turn on.
Can Landscape Lighting Increase My Property Value?
Yes, outdoor lights can add value to your property. They improve curb appeal and highlight the beauty of a home at night. Homeowners who install landscape lighting are making a smart investment.
Is It Possible to Upgrade My Existing Landscape Lighting System?
You can upgrade your outdoor lighting system by changing old lighting fixtures. You can also replace halogen bulbs with energy-efficient LED bulbs. This better technology will help you make a smart upgrade!
How Often Should Landscape Lighting Be Replaced?
Lighting replacement relies on how good and long-lasting your original lighting fixtures are. If you take care of them and make updates now and then, your landscape design can last for many years!
DIY vs. Professional Landscape Lighting Installation: Which Is Better?
DIY installation works well for easy setups. However, for complex systems, it's best to hire a licensed electrician. This ensures safety and good quality. Remember, safety comes first!
Addressing Weather-Related Concerns for Outdoor Lighting
Choose lights meant for outdoor use to handle weather problems. Make sure they are strong, waterproof, and fit your area's climate. A good lighting plan can stand up to the elements!
Need Assistance for a Complete Landscape Makeover?
Shrubhub’s landscape design packages can significantly transform the lives of homeowners by delivering customized, professional landscaping plans tailored to their unique space and personal style. With the ease of online collaboration, you are guided step-by-step through a design process that fundamentally reshapes your outdoor environment. The result is an aesthetically pleasing and functional outdoor living area that maximizes the potential of your property.
Sign up now for free and get a whopping 70% discount on your landscape design!


