Beginner's Guide: Planting Spring Bulbs in Fall
Published: 19/09/2024 | Updated: 19/09/2024
Key Highlights
- Enjoy a vibrant spring garden by planting bulbs in the fall.
- Popular spring bulbs include tulips, daffodils, hyacinths, and alliums.
- Choose the right bulbs for your USDA Hardiness Zone.
- Plant bulbs before the ground freezes, typically 6-8 weeks prior.
- Protect bulbs from rodents with chicken wire or repellents.
- Provide proper care and enjoy years of beautiful spring blooms!
Introduction
To enjoy the bright colors of early spring, you should plant bulbs in the fall. These bulbs need time to grow roots before the ground freezes. By planting them in the fall, you help them get ready for a lovely show when the warm weather comes back. This guide will help you learn all you need to know about planting spring bulbs in the fall.


Understanding Spring Bulbs and Fall Planting
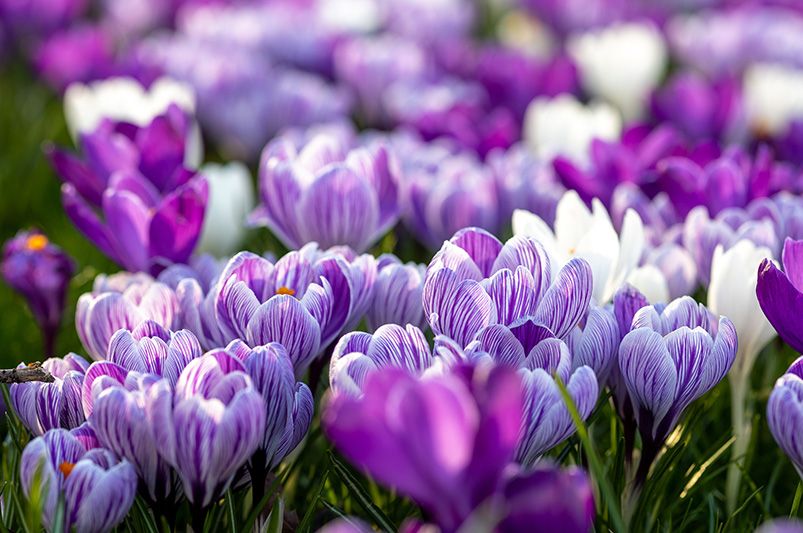
Fall bulbs are a garden secret for a beautiful spring garden. These bulbs do not bloom in the fall. They grow in the autumn months to get ready for a colorful show in the spring.
Planting in the fall might feel strange, but it’s important to know the timing. The cooler soil and fall moisture help new bulbs create strong roots before winter arrives. This means when the ground warms up, your spring garden will be one of the first to show off bright blooms.
The Best Spring Bulbs for Beginners
For those just starting with bulb planting, some types of bulbs are strong and pretty. Grape hyacinth is a lovely option. This flower has nice clusters of small, bell-shaped blooms in blue, pink, or white. It adds a fun look to any garden.
Another good choice is the dwarf iris. This flower shows up in early spring and brings bright colors in shades of blue, purple, yellow, and white. Their small size is great for borders or rock gardens.
If you want something unique, think about the Siberian squill. These easy-to-care-for bulbs have clusters of delicate blue, white, or pink star-shaped flowers. Their grassy leaves also give added beauty to the spring garden.
Why Fall Planting is Crucial for Spring Blooms
Planting bulbs in late fall sets up a beautiful show of early spring flowers. During the cold months, bulbs stay asleep underground. They work on growing strong roots during this time. This cold rest is very important because it helps the bulbs save energy. This energy means they will bloom brightly when it gets warmer.
When you plant in the fall, you give your bulbs the chance to get used to their new spot. As spring starts to show itself, the bulbs will be ready to break through the ground. This will add some much-needed color after a long winter.
What does this mean? Your garden will be one of the first to bloom. It will be full of bright colors and attract early pollinators looking for nectar. Planting in the fall is good for the bulbs and gives you the thrill of seeing nature wake up early.

Preparing for Planting: What You Need to Know
Before you start planting your spring bulbs, make sure to get the right tools. You should also choose a good spot in your garden. Getting ready like this helps your bulbs grow well. This means you will see a beautiful show of flowers in spring.
If you know what your bulbs need, you can give them the best conditions to grow. This preparation is important for a fun and successful planting experience. It can turn your garden into a place full of early spring color.
Essential Tools and Supplies for Bulb Planting
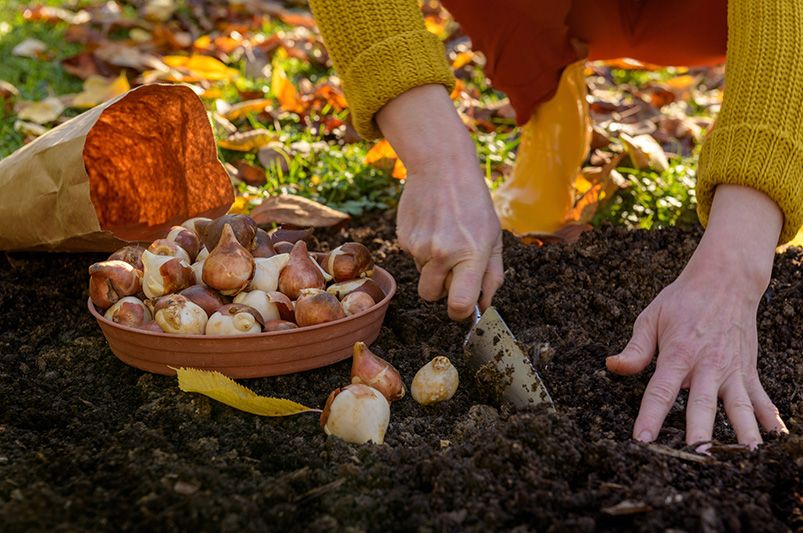
To make planting flower bulbs easy, gather these important tools:
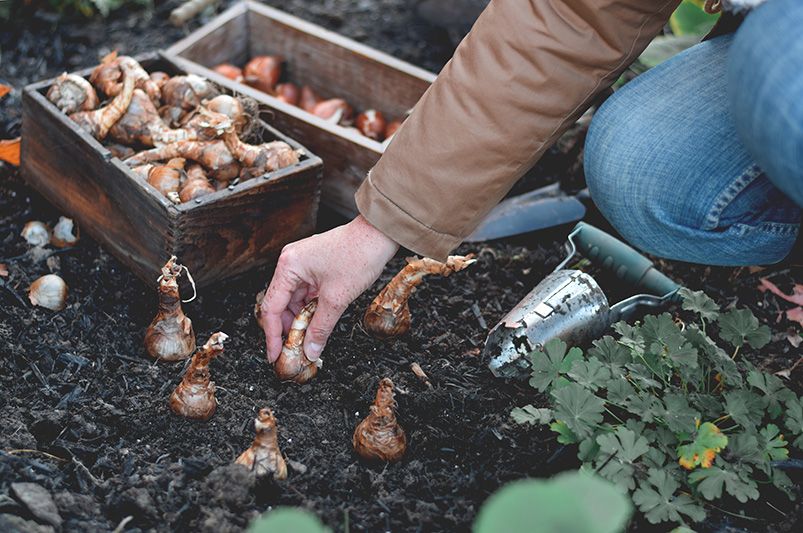
- Trowel or Bulb Planter: A trowel or bulb planter helps you dig holes for each bulb. This is especially useful for smaller bulbs.
- Gloves: Wear a good pair of gardening gloves to keep your hands clean and safe from irritants.
- Measuring Tape or Ruler: Use a measuring tape or ruler to check the right depth for each bulb. This helps you plant at the right level.
- Bulb Fertilizer (Optional): You can add slow-release bulb fertilizer to the soil. This will give your bulbs an extra boost.
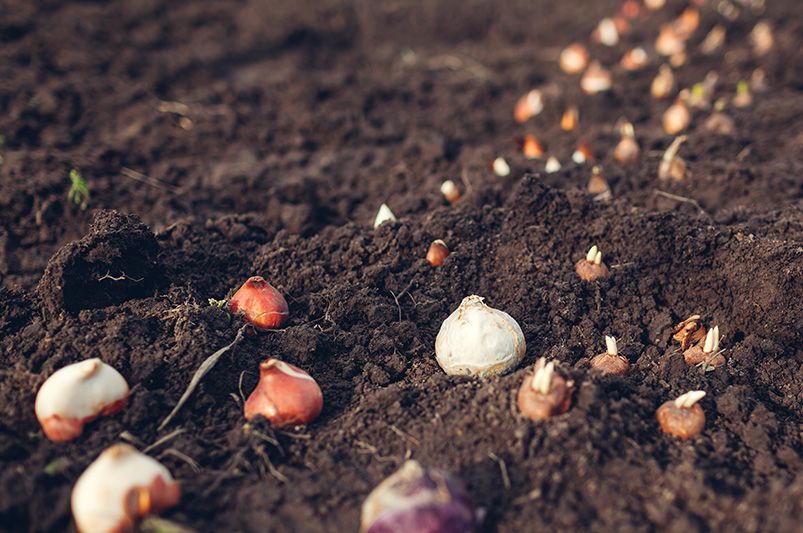
When you have your tools ready, you can start planting. A good rule of thumb is to plant bulbs at a depth two to three times their height. For example, if your bulb is 2 inches tall, plant it about 4 to 6 inches deep. This will help the bulb stay secure and safe from extreme temperatures.
Selecting the Right Location for Your Bulbs
Choosing the right spot for your bulbs is very important. Most spring-blooming bulbs do best in full sun to partial sun. They need at least 6 hours of direct sunlight every day. Think about how the sun moves in your garden during the day to find a good place.
Next, check your soil. Bulbs like well-drained soil. If your garden has heavy clay soil that stays wet, mix in compost or other organic material. This will help with drainage and improve the soil.
Also, pay attention to your USDA Hardiness Zone. This zone shows the average lowest winter temperatures in your area. It helps you know which plants will do well. Make sure the bulbs you choose are right for your zone. This way, they can make it through the winter.
A Step-by-Step Guide to Planting Spring Bulbs in Fall
Now that you know the basics of fall bulb planting, it’s time to get started. Follow this simple guide for a successful planting experience. By focusing on the details, you help your bulbs grow strong.
Keep in mind that planting bulbs takes faith and patience. You are putting your effort into a bright future filled with color and beauty. This shows how nature can renew itself. So, put on your gardening gloves, get your planting beds ready, and enjoy the process of fall bulb planting.

Step 1: Testing and Preparing Your Soil
Before you plant bulbs, check how well your soil drains. Dig a hole that's about 12 inches deep and fill it with water. If the water goes away within a few hours, you are ready to plant. If it stays for more than 6 hours, you need to improve drainage. You can do this by mixing in compost, peat moss, or sand into the soil.
Bulbs like soil that is slightly acidic to neutral, with a pH between 6.0 and 7.0. If a soil test shows your soil is not in this range, you will need to fix it. You can buy a soil testing kit at most garden centers.
To find out the best time to plant bulbs in your area, look at a reliable source like the Old Farmer’s Almanac. Keep in mind that planting times change based on your climate.
Step 2: Choosing Your Bulbs Wisely
When choosing bulbs, pick bigger ones. They are healthier and have more energy stored. This means they will bloom better in the spring. Check each bulb well. It should feel firm and have no damage, rot, or bugs.
Think about planting bulbs that bloom at different times. This way, you get a nice show of colors throughout spring. For example, plant early-blooming bulbs like crocuses and snowdrops with later-blooming tulips and daffodils.
Feel free to try different colors and types. This can help you make a special and beautiful spring garden. Select a mix of your favorites. Then enjoy the lively display of colors in your garden.
Step 3: Correct Planting Depths and Spacing
Proper planting depth and spacing are very important for healthy bulbs and a beautiful spring flower display. A good rule is to plant bulbs two to three times their height. So, if you have a 2-inch bulb, it should go 4 to 6 inches deep.
Spacing is just as important. It helps air flow and stops bulbs from overcrowding. Usually, you should space bulbs 2 to 6 inches apart, depending on how big they will be when fully grown. Bigger bulbs, like tulips and daffodils, need more space than smaller ones, like grape hyacinths.
Make sure to check the instructions that come with your bulbs. They will give you details about exact planting depths and spacing. These can change by variety. If you follow these tips, your bulbs will grow well. This helps roots develop properly and lets them bloom at their best during spring.
Step 4: Watering and Mulching Techniques
After you plant your bulbs, water them well. This helps the soil settle and supports root growth. Be careful not to water too much, as this can cause the bulbs to rot. In the fall and early winter, rain may be enough for them. If it gets dry, water your bulbs every week or two.
Adding a layer of mulch around your bulbs, about 2-3 inches deep, keeps the moisture in, stops weeds, and protects the soil. It also guards the bulbs against temperature changes, especially during late winter thaws. Use organic mulches like shredded bark, compost, or straw. They decompose slowly and add nutrients to the soil.
By watering and mulching correctly, you help your bulbs grow well in fall and winter. This prepares them for a healthy and colorful spring bloom, showing the beauty of your hard work.

Aftercare: Ensuring Your Bulbs Thrive Until Spring
Once your bulbs are planted in the ground, you must care for them through the fall and winter. This helps them survive and bloom beautifully in the spring. You should shield them from winter's cold and from animals that may want to eat them.
Taking care of your bulbs while they are dormant is important. By doing this, you help them to grow well in the spring. As the weather warms and spring starts to show, your bulbs will thank you. They will attract early pollinators and bring color to your garden.
Protecting Bulbs from Winter's Harsh Conditions
Despite being tough, bulbs can face problems in winter and deal with some hungry animals. To help protect your bulbs and keep them alive, you can take some easy steps. If you live where there are lots of mice or other rodents, putting chicken wire over the new bulbs can keep them from digging.
Some bulbs, like daffodils, naturally keep deer away, but others, like tulips, are tasty for them. If deer come around your garden, you might use deer repellent sprays or add netting to protect the more at-risk bulbs in your garden beds.
As winter goes on, watch out for heavy snow. It can pack the soil tightly and make it hard for new bulbs to grow in spring. If there is a lot of snow in your area, carefully brush off the extra snow from where you planted to prevent harm and let fresh air reach the soil.
Signs Your Bulbs are Healthy and Ready for Spring
As winter turns into spring, look for signs of healthy bulbs waking up. One of the first signs is small green shoots breaking through the soil. This is a nice sight after a long winter.
Another sign that your bulbs are healthy is when there are no mushy or brown spots on them. This could mean they are rotting or sick. Carefully check around your bulbs for signs of pests or damage. If you find any problems, fix them as soon as you can.
Watching for these signs will give you confidence that your bulbs made it through the winter and are ready to bloom in the spring. The excitement grows as you see these little shoots grow, knowing your garden will soon be full of color and life.
Conclusion
In conclusion, if you plant spring bulbs in the fall, you will create a bright and colorful garden in the spring. Knowing which bulbs to choose is important. Fall planting is key, along with the steps for putting them in the ground and caring for them afterward. Make sure to take good care of your bulbs in winter. Protect them from bad weather so they stay healthy for spring. With the right information and preparation, your garden will come alive with pretty blooms. This will add joy and color to your outdoor space. Happy planting!
Frequently Asked Questions
When is the Latest I Can Plant Bulbs in the Fall?
It's a good idea to plant bulbs six to eight weeks before the ground freezes. When you plant can change based on where you live. For warmer climates, late fall is the best time. If you live in colder areas, try to plant earlier. You can check the Farmer’s Almanac for advice about your location. Don't worry if you’re late; it's still better to plant than to miss out—bulbs are a good choice for gardeners, even if you are in a rush!
How Do I Choose the Best Bulbs for My Garden?
Think about your USDA Hardiness Zone, the light around you (most bulbs like full sun), and when you want them to bloom. Look into bulbs that do well in your zone and come in different colors and heights. Use gardening books or online sites to find out the common names of bulbs, their bloom times, and how to grow them. This will help you create a beautiful flower garden from early spring to late spring.
Can I Plant Bulbs in Containers?
Absolutely! Containers are a great way to enjoy spring flowers, even if you have little space. Use a good potting mix that drains well and choose pots with holes at the bottom. You can plant different bulbs together to make your display last longer. For example, plant crocus bulbs to get some color in early spring. Then you can add tulip bulbs for a beautiful show as the weather gets warmer. You might also want to include white flowers for some elegance. Don't forget to water your plants regularly and keep the containers safe from extreme temperatures. You can enjoy the beauty of spring well into early summer with a good container garden.
How Can I Protect My Bulbs from Rodents?
Rodents really like bulbs! To keep them away, you can plant bulbs in a wire cage made of chicken wire. Another option is to bury them deeper than normal, about 8 to 10 inches. You might think about planting bulbs that resist rodents, such as daffodils or alliums. These are not very tasty to rodents and are good for your pollinator garden.
You can also use blood meal or predator urine, which you can find at garden centers. Sprinkle these around your plants. This can help protect the pretty flower heads of your bulbs. If you're planting in containers, putting a layer of gravel or sharp-edged mulch on top can help too. Planting bulbs in masse makes it less likely that rodents will eat them all.
What Should I Do if My Bulbs Start Sprouting in Winter?
A little growth in winter usually isn't a problem. But if you have a warm spell followed by a hard freeze, you can cover the new shoots with mulch or straw to help protect them. Don't worry too much; most bulbs are tough and will bloom even if they sprout early. For a longer season of beauty, consider late-blooming flowers like the late tulip, large cupped daffodil, or double daffodil. These flowers bloom later and can handle unusual weather conditions better.
Need Assistance for a Complete Landscape Makeover?
Shrubhub’s landscape design packages can significantly transform the lives of homeowners by delivering customized, professional landscaping plans tailored to their unique space and personal style. With the ease of online collaboration, you are guided step-by-step through a design process that fundamentally reshapes your outdoor environment. The result is an aesthetically pleasing and functional outdoor living area that maximizes the potential of your property.
Sign up now for free and get a whopping 70% discount on your landscape design!


